WINDOWS SOFTWARE FOR MULTI-COLOUR 3D PRINTING
Turn colour SVG artwork into ready-to-slice 3D prints.
ColourStack Studio handles the difficult geometry, colour separation and product construction — so you can go from artwork to a structured multi-part 3MF without rebuilding everything in CAD.
One clear workflow: SVG artwork → ColourStack Studio → 3MF → slicer → printer.
1Import SVG
→
2Choose a product
→
3Review colours
→
4Build Print
→
5Open 3MF in your slicer
FROM ARTWORK TO PRINT PROJECT
Less CAD. More making.
Import your vector artwork, tell ColourStack what you want to make, then let it create and validate the printable parts.
01
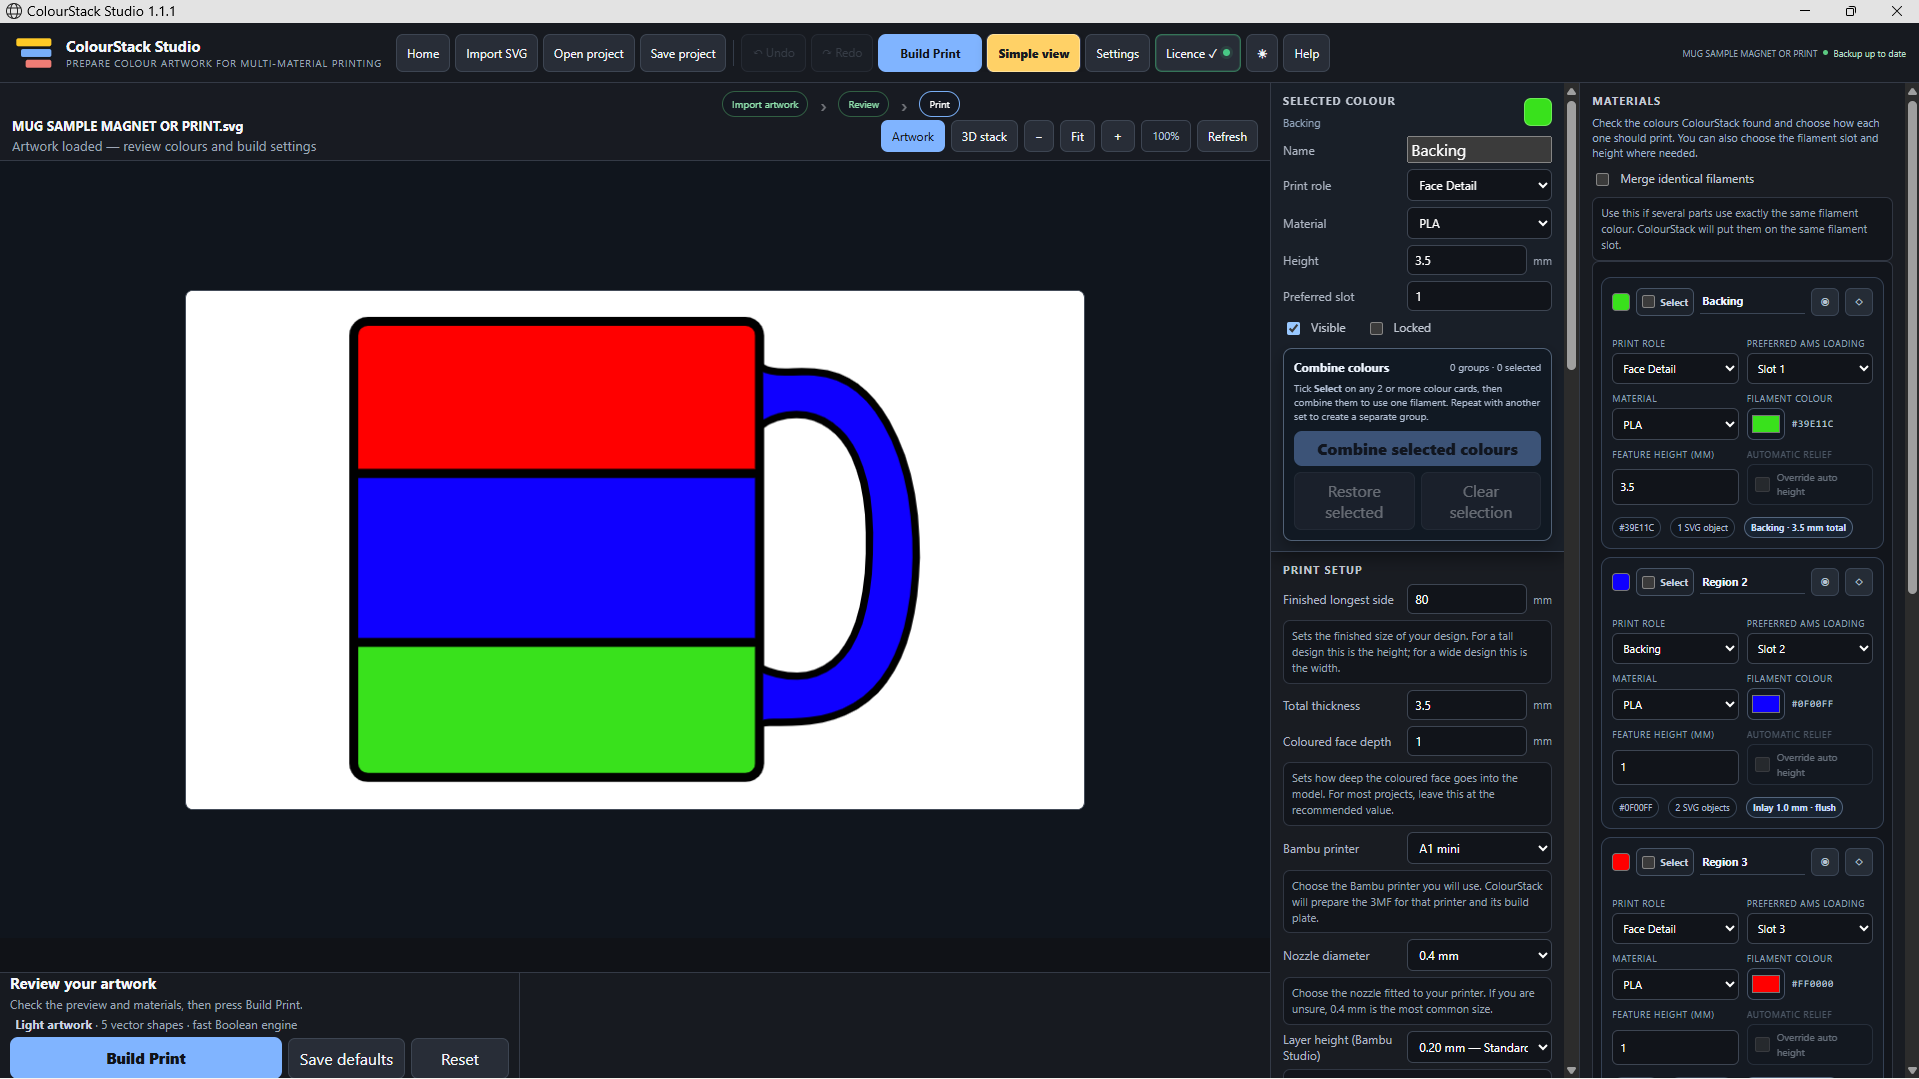
Start with your artwork
ColourStack analyses the shapes and colours in your SVG and presents each printable region for review. Change filament colours, material, preferred AMS slot and feature height without altering the original artwork.
02
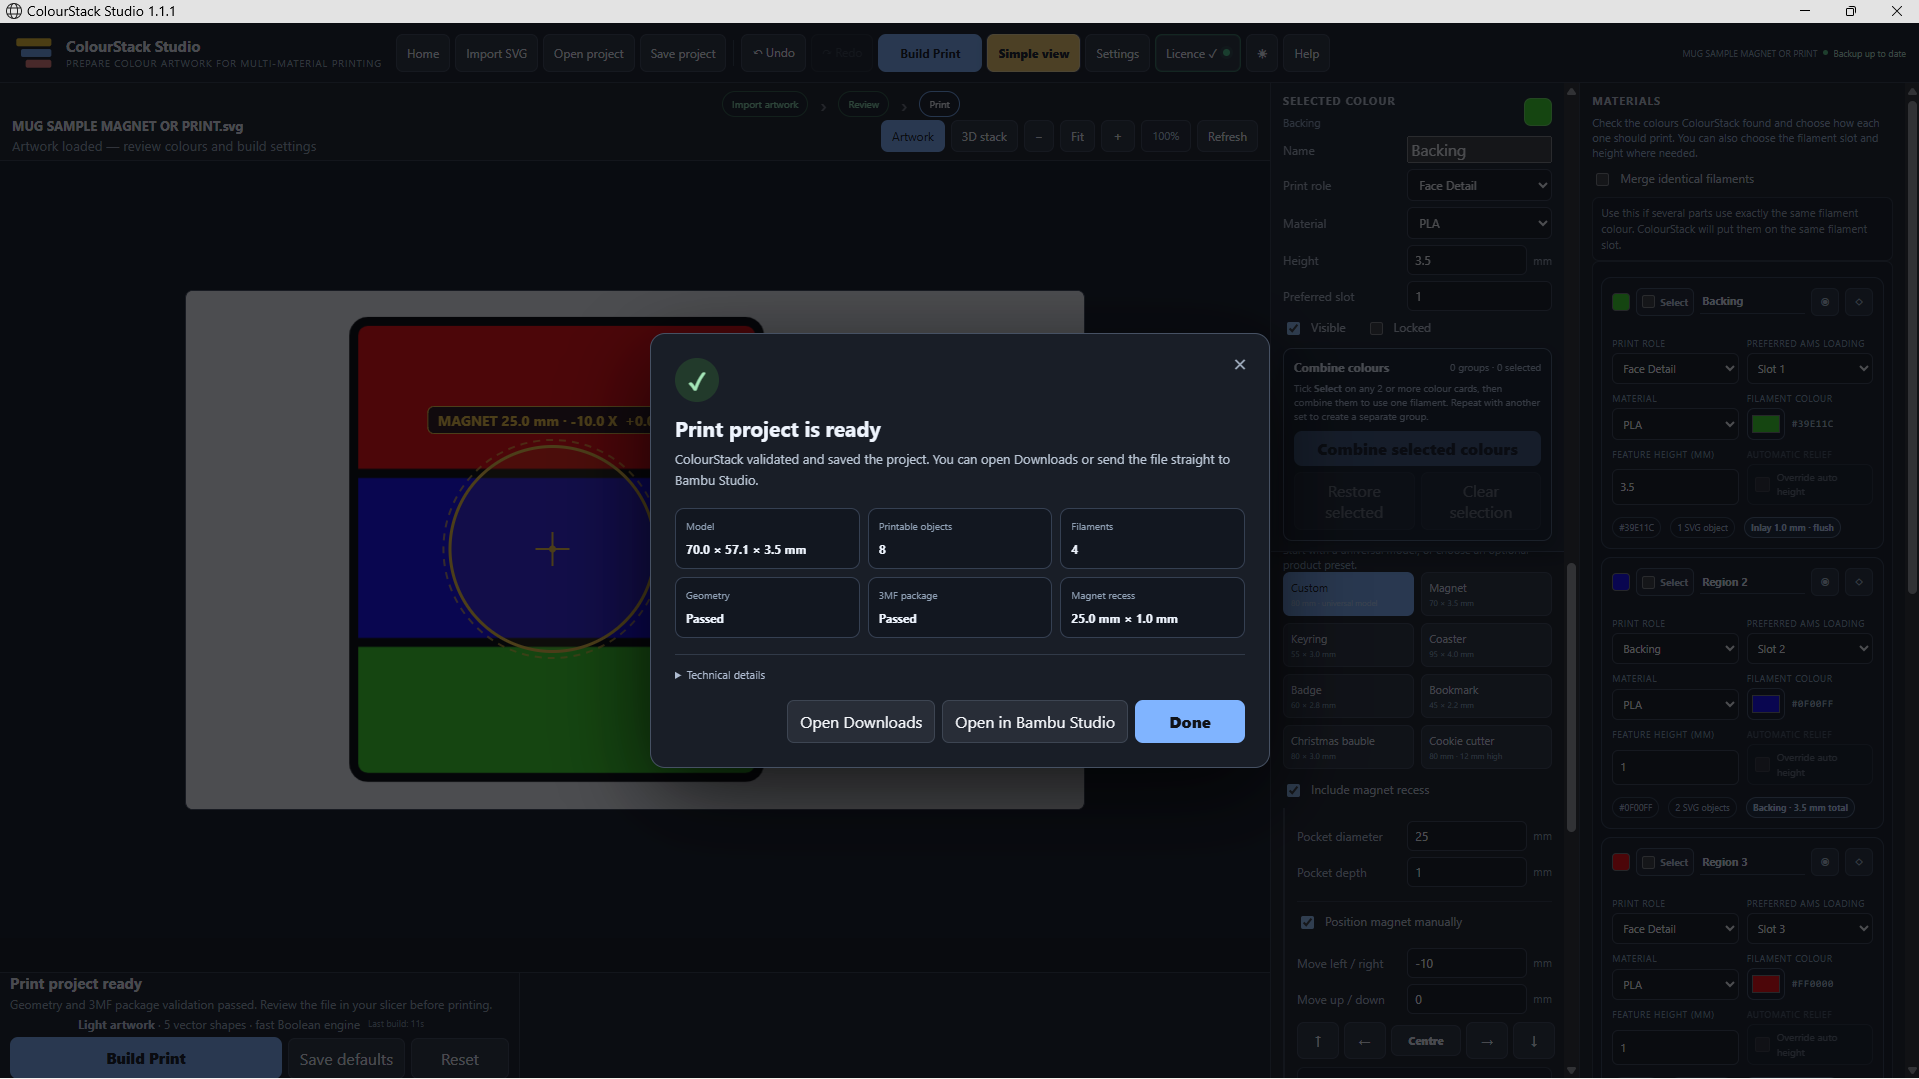
Build a proper print project
ColourStack resolves visible geometry, generates colour solids and structural parts, checks the result and packages the project into a multi-part 3MF ready for a compatible slicer.
03
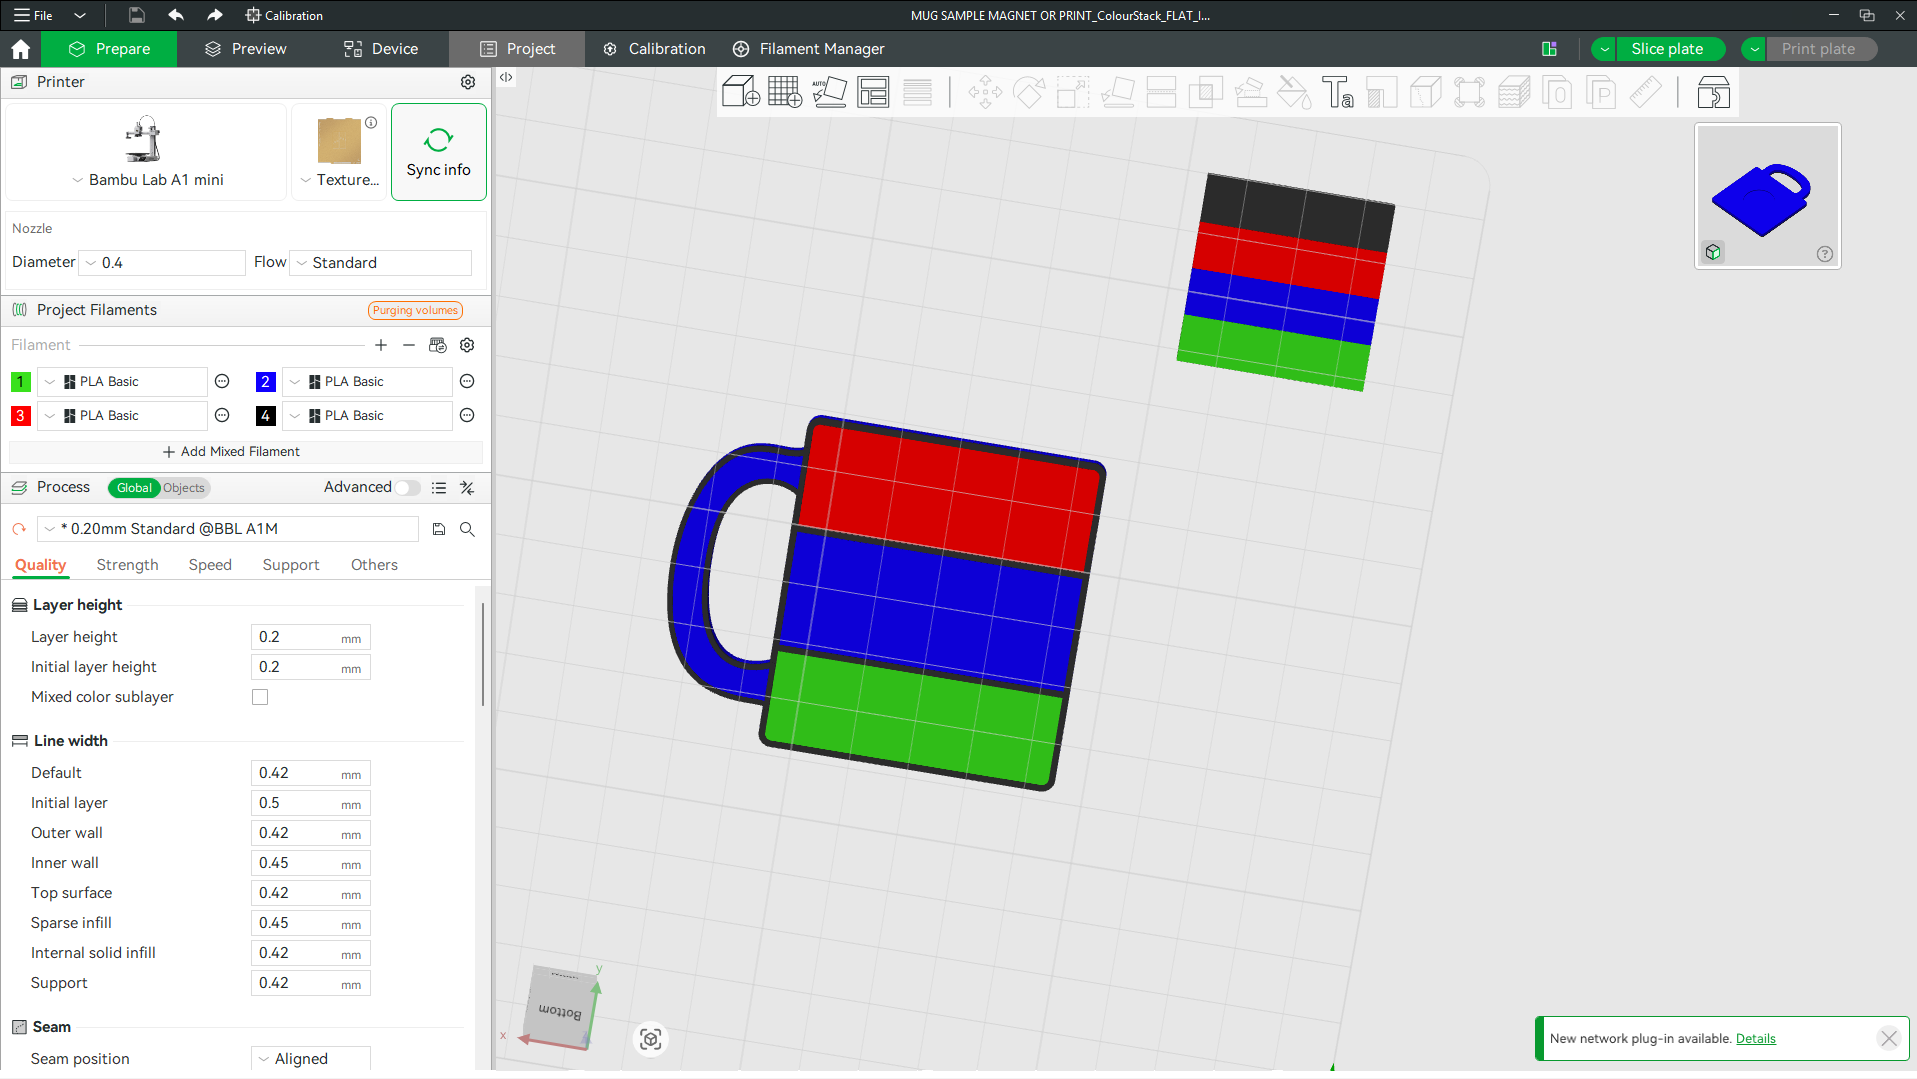
Open, slice and print
Your generated project arrives in the slicer as separate printable parts, ready for final printer and profile settings. ColourStack sits between your artwork and your slicer — not in place of it.
BUILT-IN PRODUCT TOOLS
Make more than a flat extrusion.
Choose a finished object and ColourStack creates the supporting geometry around your artwork.
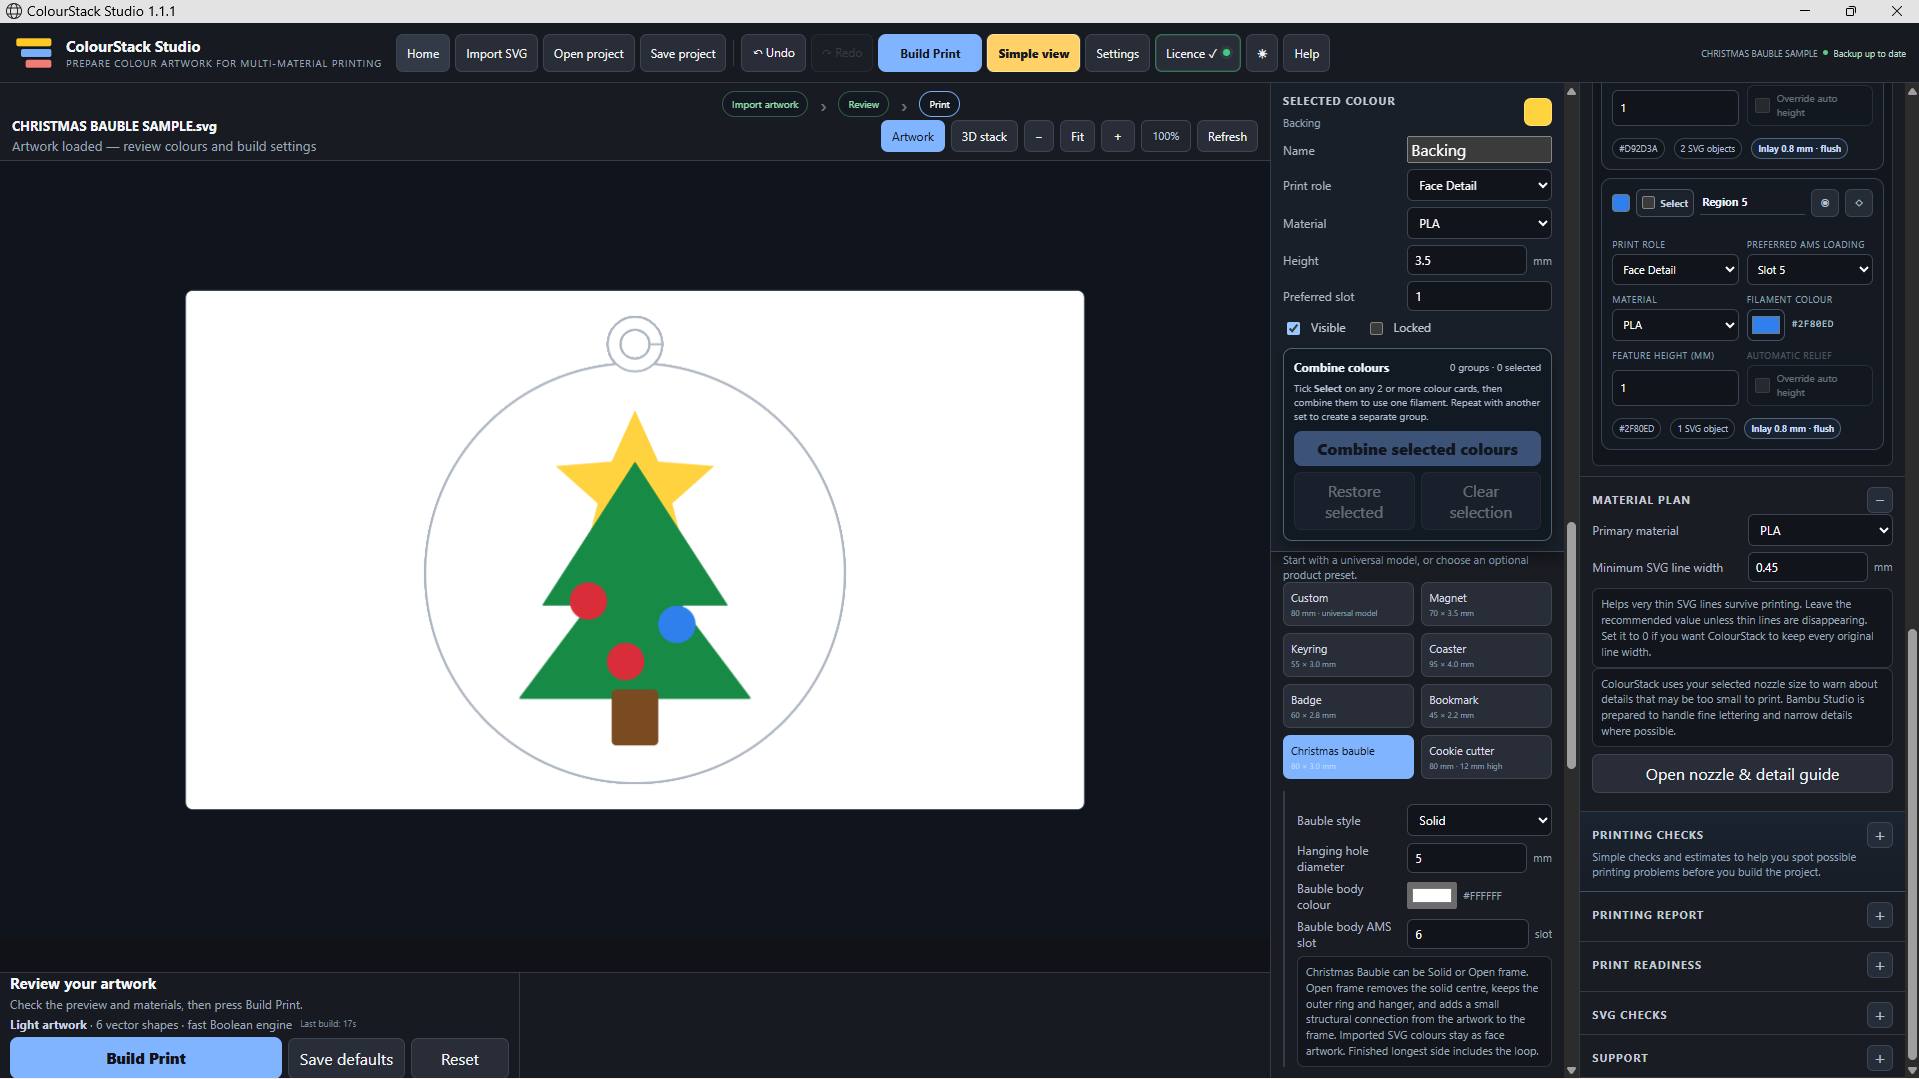
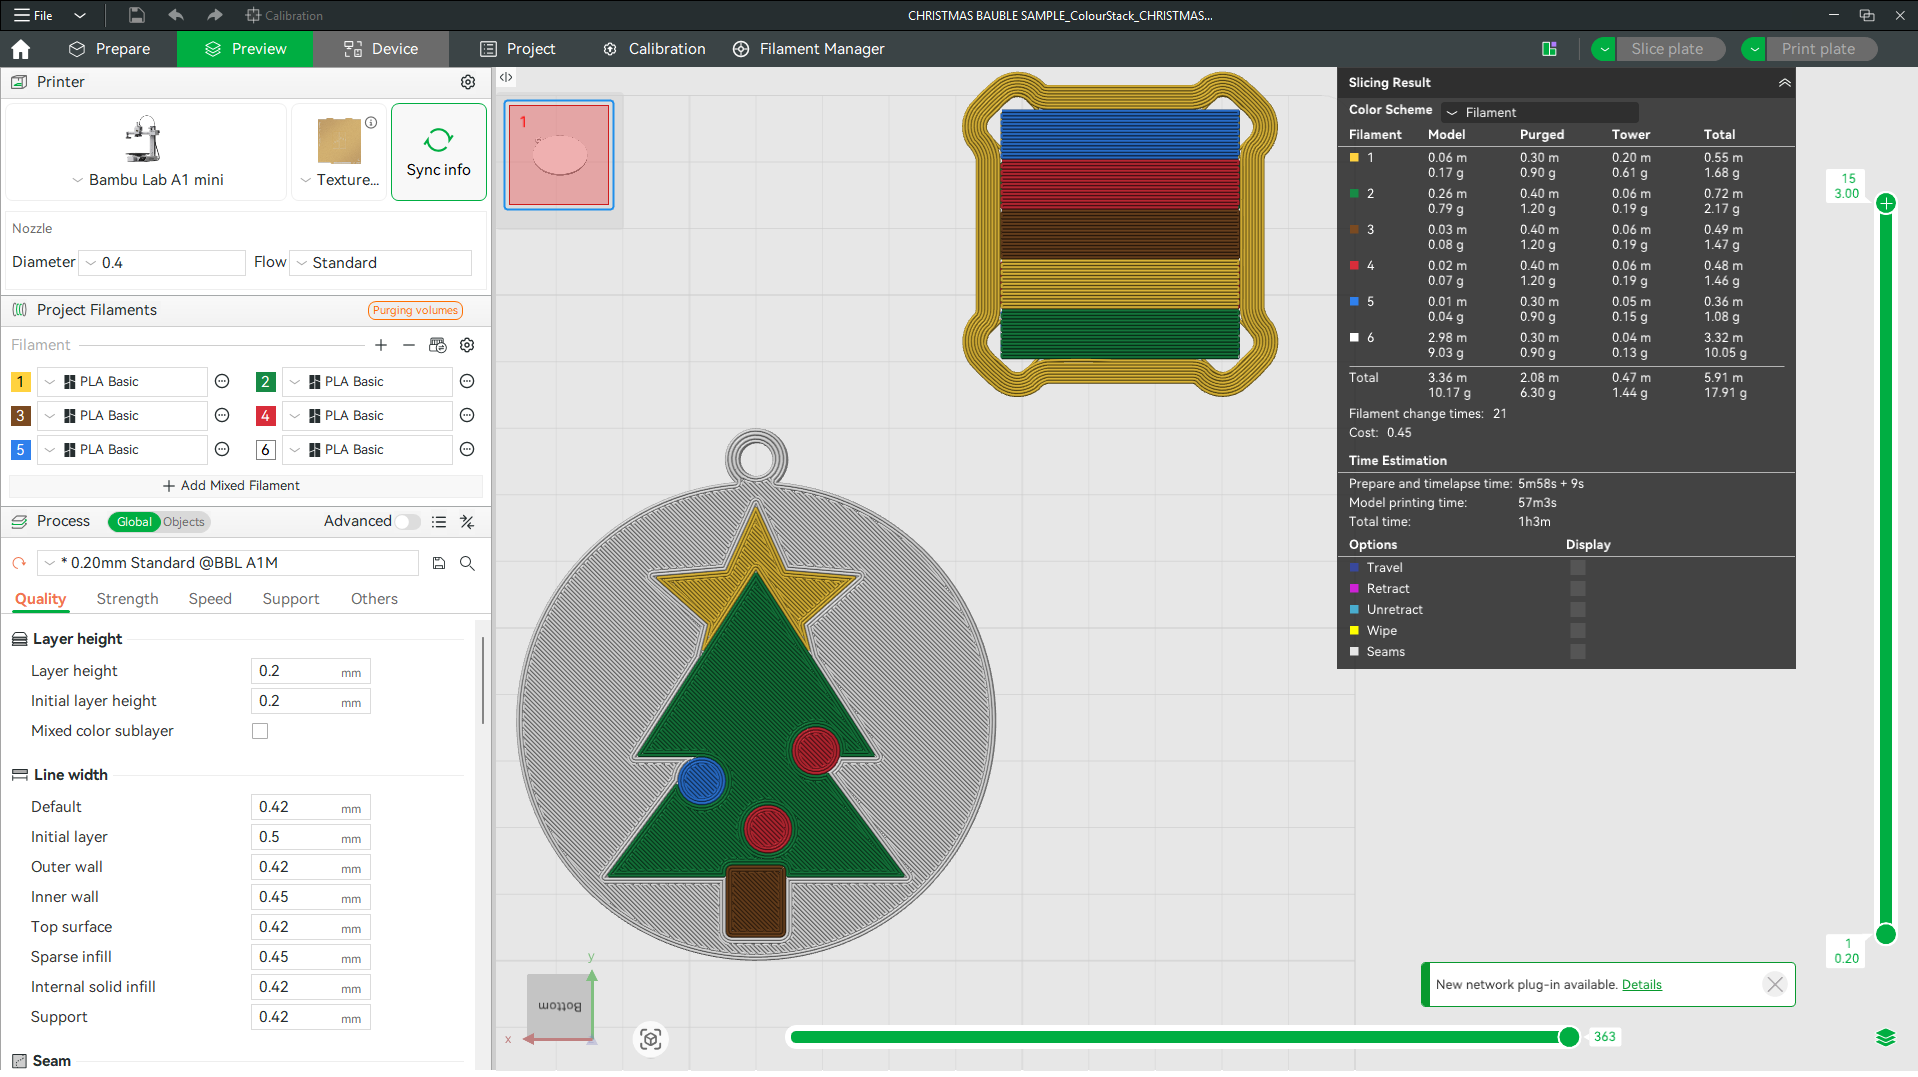
CHRISTMAS BAUBLES
Artwork in. Ornament out.
ColourStack can position and scale artwork inside a complete bauble, add the hanging structure, keep colours as separate printable elements and generate either a solid body or open-frame design.
CONTROL WITHOUT THE CAD OVERHEAD
Simple when you want it. Detailed when you need it.
Colour & filament control
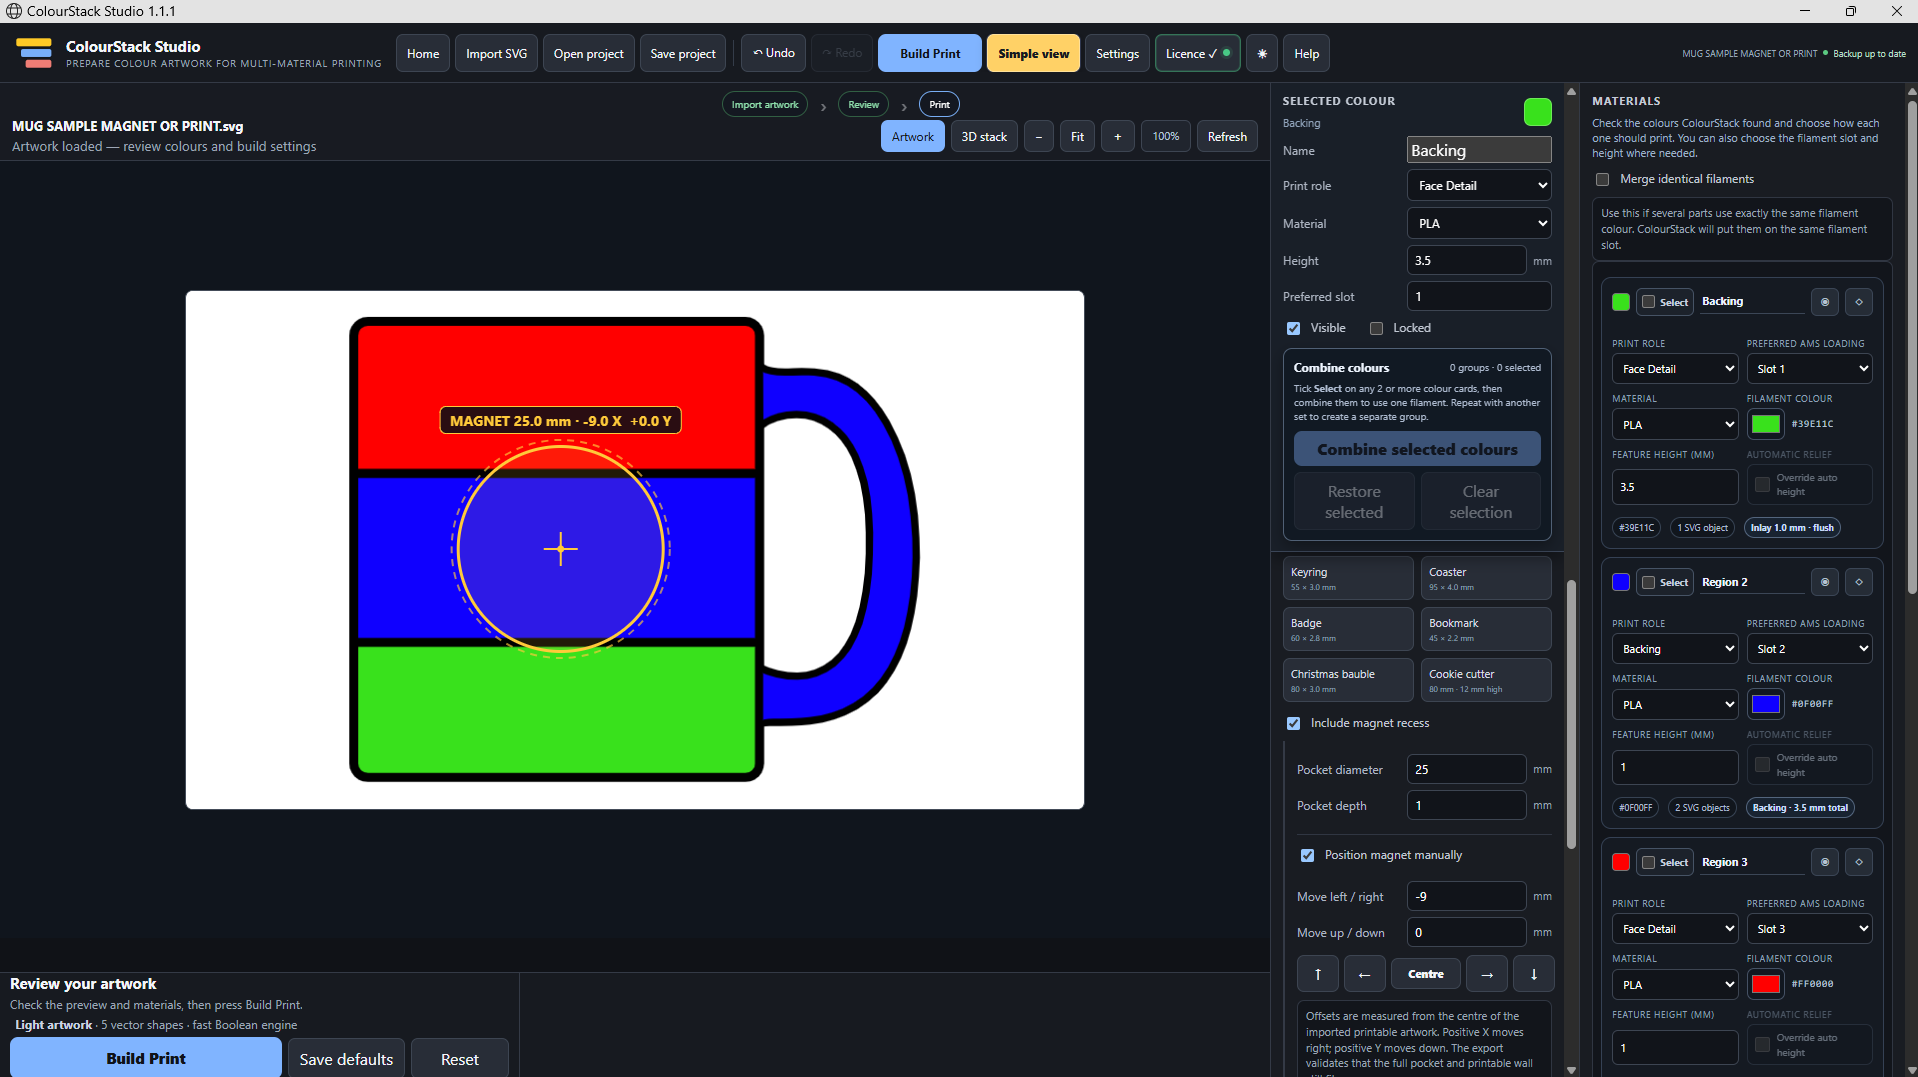
Change filament colours independently of the SVG, assign preferred AMS slots, combine colours and merge identical filament assignments.
Simple + Advanced views
Keep the everyday workflow approachable, then expose more detailed controls as you need them.
3D stack preview
Inspect the artwork, depth and generated product structure before committing to the build.
Print checks
Validate geometry and review readiness information before ColourStack creates the finished project.
Projects & recovery
Save and reopen projects, use Undo/Redo, keep preferred defaults and recover work after an interrupted session.
Samples included
Explore known-good Mug, Eagle, Bookmark and Christmas Bauble examples to learn the workflow quickly.
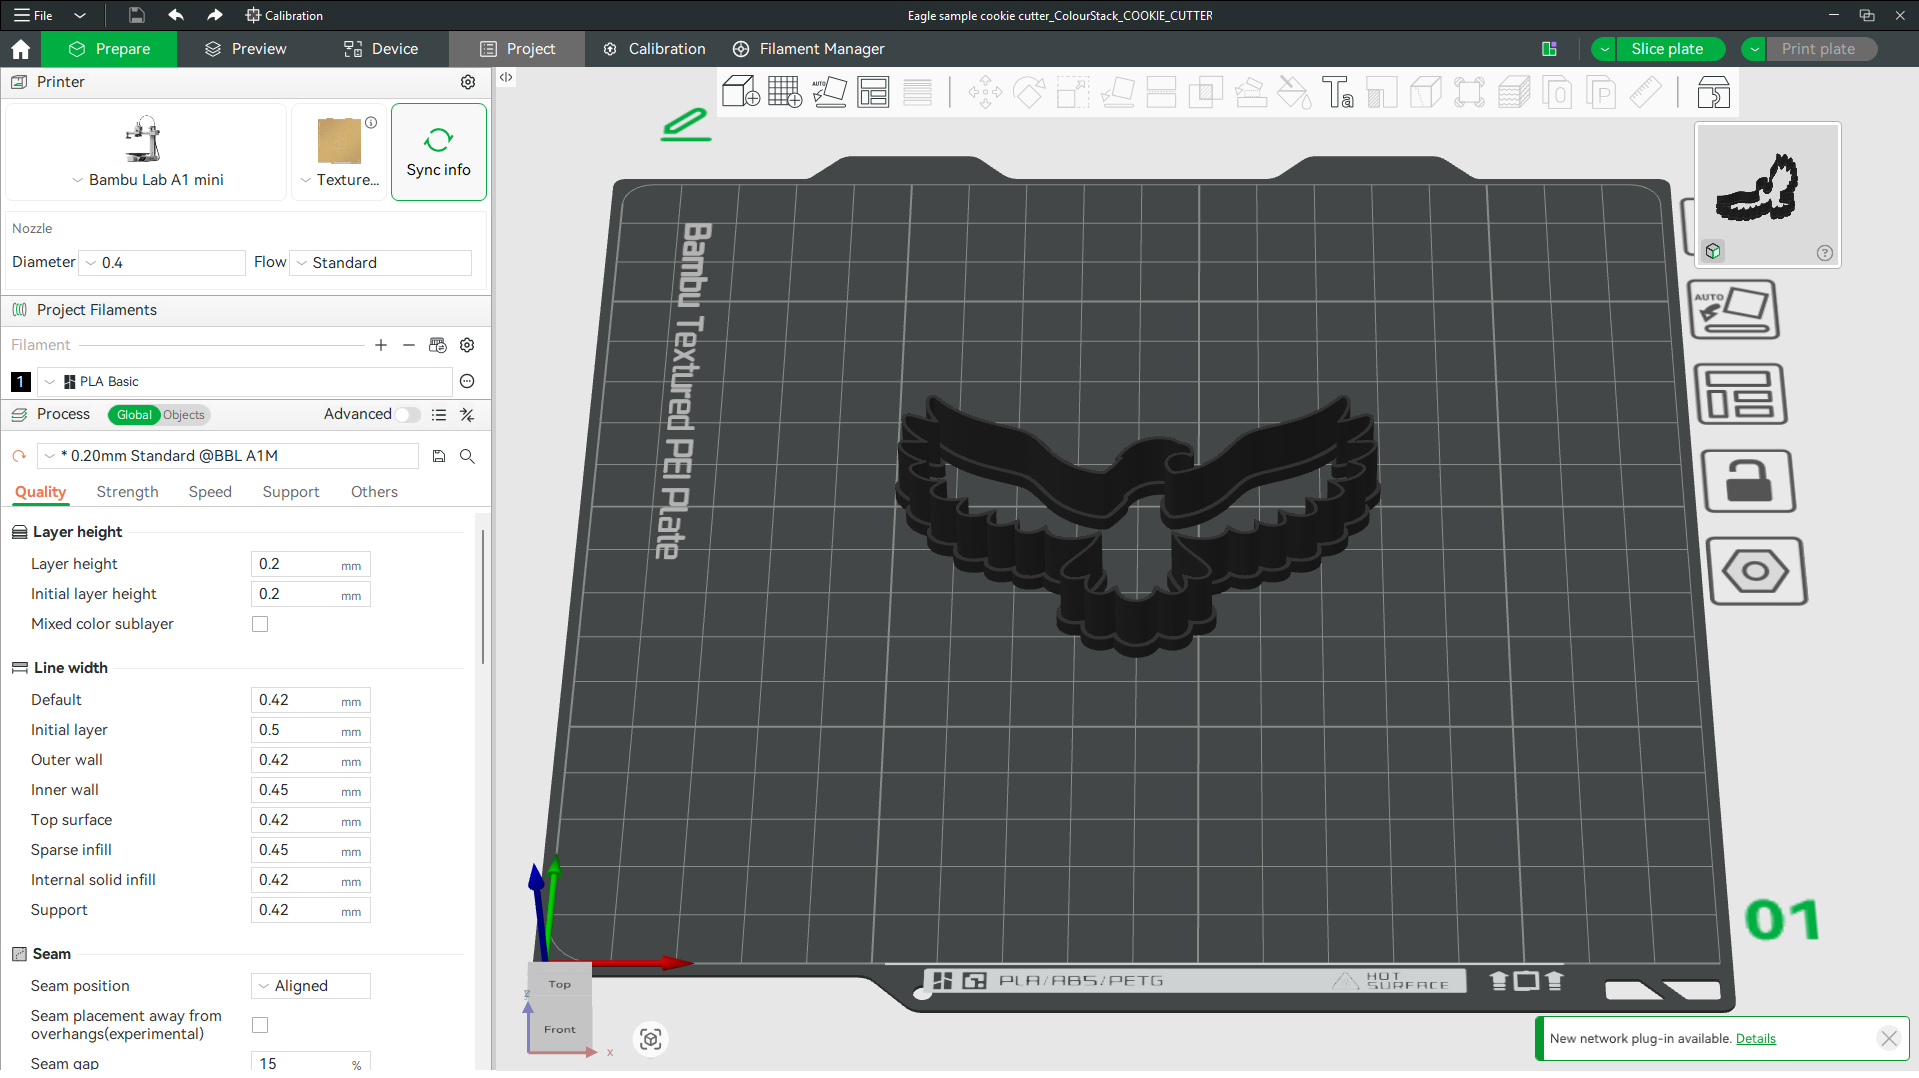
NOT JUST DECORATIVE PLAQUES
SVG artwork can become functional geometry.
The Cookie Cutter workflow demonstrates how ColourStack can use artwork as the basis for a purpose-built 3D object rather than simply extruding the original SVG.
SYSTEM & WORKFLOW
Designed for Windows.
ColourStack Studio creates 3MF print projects for use with compatible slicing software. Final printer/profile settings, slicing and printing are completed in your slicer.
PlatformWindows
Artwork inputSVG
Project output3MF
Example workflowBambu Studio
LICENCE & ACTIVATION
One licence, one computer — with help when things change.
ColourStack Studio uses a perpetual commercial licence for ColourStack Studio 1.x, activated for one computer.
Activate your computer
After purchase and installation, open ColourStack Studio's Licence screen and send us the This Computer code shown there. Your licence and activation details are then issued for that computer.
Commercial use included
Your ColourStack Studio 1.x licence is a perpetual commercial licence for one activated computer — no recurring software subscription.
Activation is remembered
Once successfully activated, ColourStack remembers its licensed status locally and uses the online licensing service to keep that activation current.
Reinstalled your PC?
If you format or reinstall your computer and lose the activation, you can request a publisher-managed replacement so you do not have to purchase ColourStack again.
Activation is not instant: licence details are issued after we receive your computer code. Full purchase, download and activation instructions will be provided at launch.
COLOURSTACK STUDIO
From colour artwork to printable project.
Spend less time reconstructing artwork in CAD and more time creating multi-colour prints.
ColourStack Studio for Windows
Coming soon
Purchase coming soon
Secure checkout and download will be connected before launch.